Hour tracking and how to get paidUpdated 2 months ago
Hubstaff
Hubstaff is an hour tracking system where we will keep track of our worked hours.
- Tracking hours:
Keep in mind that tracking only works via the desktop app, that you can download HERE.
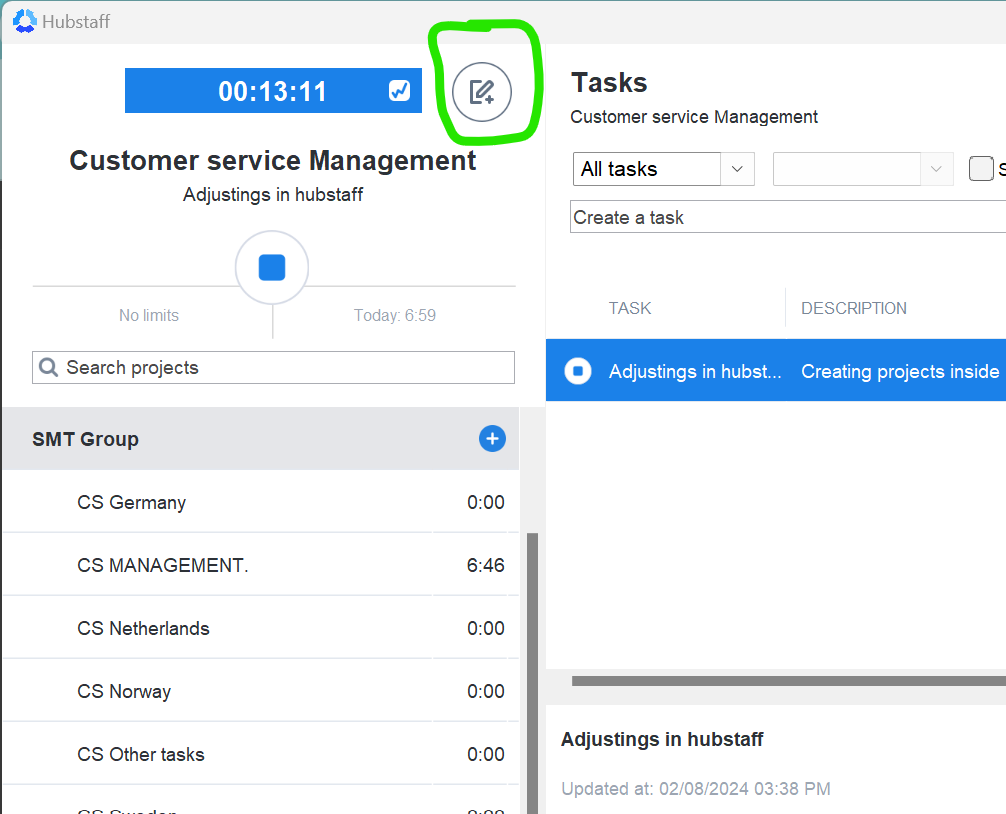
When you start working, you will log into your hubstaff app and select the country and then the task you will start working on:
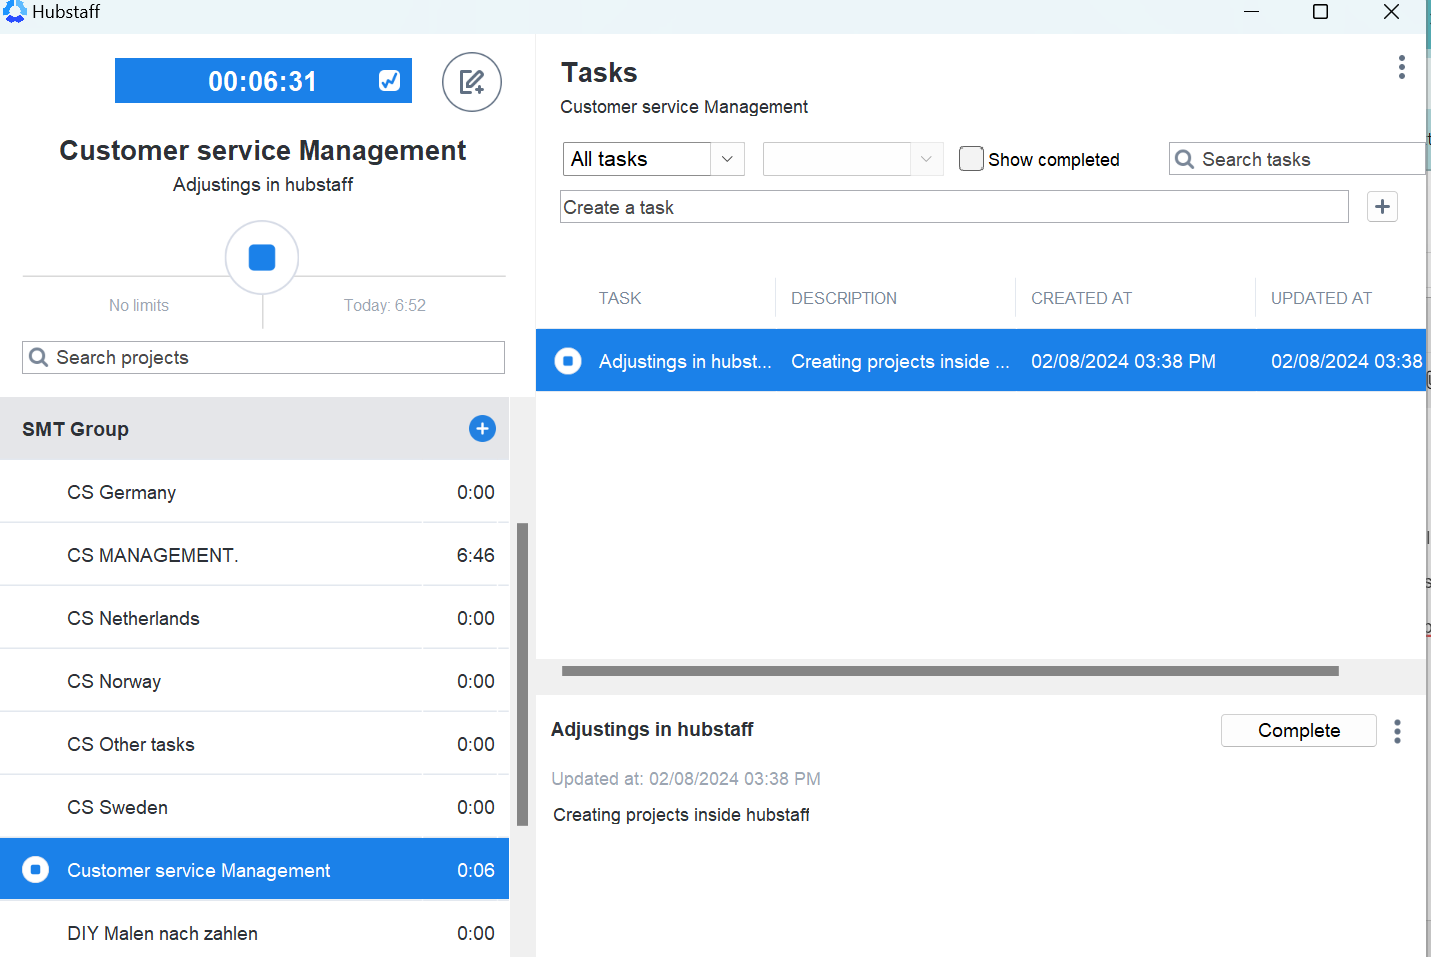
Support tickets = everything you do in Gorgias while doing tickets
Facebook Groups = Accepting invites/posts in the Facebook group
Problem sheet = When you handle the issues in the problem sheet
Translation = the time you spend working on translation tasks
Trustpilot = when you answer reviews on Trustpilot
Meetings = When you have a meeting with someone or for the team meetings
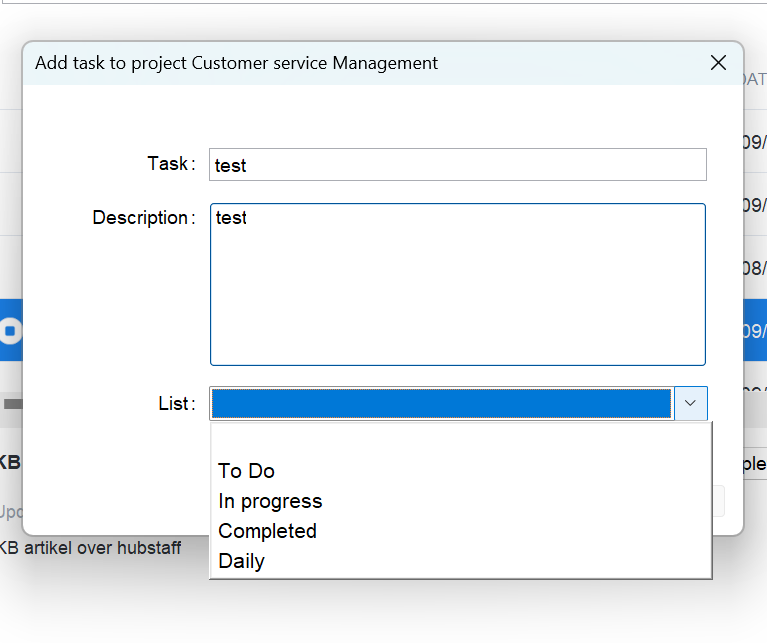
You also have the option to add a task yourself, this can only be done if you have a specific task assigned that is not mentioned in the general tasks.
In that case, you can click on create a task:

You will then receive a pop-up where you will need to write a description of what you will be doing and assign it to a list you want:
Time spend on answering slack does not need to be tracked separately because that is a bit of too much switching work.
For the people who also work in Website management tasks, every task that is NOT customer service related you will add to website management or will be assigned to you in this folder. If there is a task that needs to be added, and you cannot do it yourself, please inform your customer service manager.
- Idle time
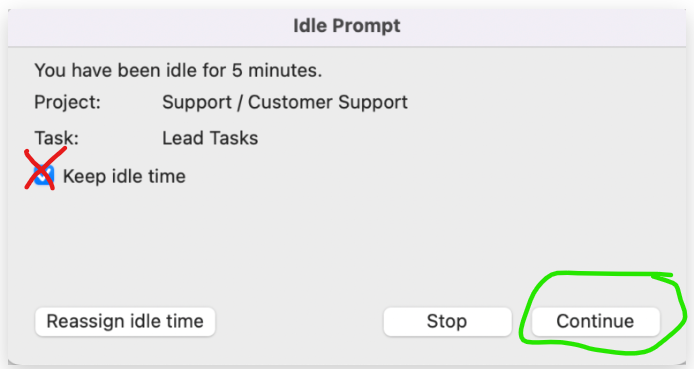
Hubstaff will also track your 'idle' time, this time is tracked via mouse and keyboard activity, if for more than 5 minutes you don't use your mouse you will receive a pop-up message saying 'you are now idle'.
In case you were away from your pc and was not doing anything work related, you will click on continue without checking the box 'keep idle time', this will deduct the time you were absent from your worked hours.
If you were idle due to a meeting or you were reading an article or anything work related, you will select the box 'keep idle time', in that case the idle time will not be deducted from your time.
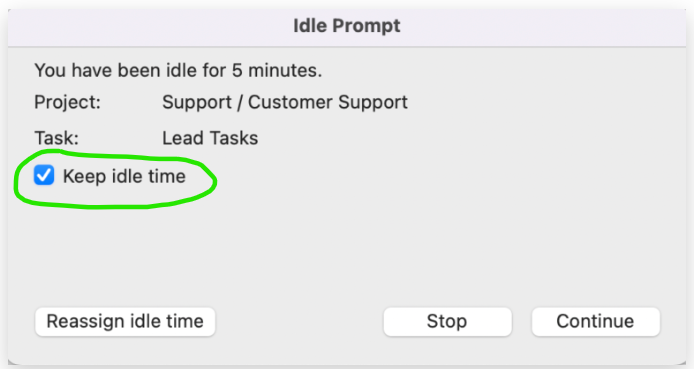 If you keep the idle time you will make a note inside your desktop app what the reason is for keeping the idle time, you can do so here:
- Activity tracking
Hubstaff will also track your activity level by tracking your keyboard and mouse activity within every 10 minutes. If you have a work activity level below 50%, that might indicate you aren't fully engaged. (so don't just tap on a key etc for the sake of not going idle, because this will influence your activity level).
We also will do some things inside the hubstaff website, so tracking time only happens via the desktop app, but other things as checking your worked hours... goes via app.hubstaff.com
How to Find Your Worked Hours in Hubstaff
Once your time is tracked, you can review your worked hours using the Hubstaff desktop app or the web dashboard.
Option 1: Viewing Worked Hours in the Desktop App
- Open the Hubstaff desktop app and log in.
- Click on the Timesheets tab.
- You’ll see a breakdown of your recorded hours for the day or week.
Option 2: Viewing Worked Hours in the Hubstaff Web Dashboard
- Log in to the Hubstaff Web App
- Go to Hubstaff's website and log in.
- Navigate to the Timesheets Section
- Click on Timesheets in the left-hand menu.
- Select "My Timesheets" to see your recorded hours.
- Filter by Date Range
- Use the date selector to view specific days or weeks.
- Your total worked hours, including start and stop times, will be displayed.
3. Understanding Your Timesheets and Reports
- The Daily View shows a breakdown of the hours worked per day.
- The Weekly View provides an overview of total hours worked for the week.
- You may also see Activity Levels, which indicate your productivity based on keyboard and mouse usage.
4. More infor om time tracking
- Invoicing
Every day, you will keep track of your hours via Hubstaff.
At the end of the month, you will count all your worked hours and create an invoice with all your details.
Also check the BONUS article for anything bonus related.
HERE you find an empty invoice template for NL and HERE for all other countries that you can use.
Very important! you need to DOWNLOAD the file before filling it out, it is important that this file stays blank within drive:
Once you have filled out everything on the invoice, you will proceed sending it via an email to [email protected] and they will make sure you are paid within 10 days.
NEW UPDATE! You will only get paid if you attach a hubstaff overview of your worked hours that month, this you can download if you go to www.hubstaff.com, you go to reports and 'select time and activity', go to 'ME', select the timeframe you want and click export.
If you have any further questions, feel free to reach out to your customer service manager.
- Days off
Access the Sheet:
- Go to the shift schedule
Working Days (Green):
- Mark your working days by filling the corresponding cell with a green color to your name.
- To apply the color:
- Select the cell(s) corresponding to your working days.
- Click the fill color icon (paint bucket) in the toolbar.
- Choose green from the color options.
Days Off (Red):
- Mark your days off (e.g., vacation, leave) by filling the corresponding cell with a red color.
- To apply the color:
- Select the cell(s) corresponding to your days off.
- Click the fill color icon (paint bucket) in the toolbar.
- Choose red from the color options.
Keep It Updated:
- Ensure the sheet is always up-to-date with your schedule.
- If there are any last minute changes, update your entries immediately and inform your customer service manager of the changes.